This article officially marks the start of sharing my "home lab" journey with the world!
I first became aware of the concept of "home labbing" last year from one of my peers at Norwich University. I remember asking about it, and not understanding a word of what was said, but being very inspired by it.
The idea that one could gain hands on practice with skills such as networking and active directory, all in such a small, mobile package just kickstarted the creative gears in my brain. Suddenly, it wasn't just a rack with computers in it. I realized that not only would it help with skills development, but it's essentially a computer nerd's playground, where I can do anything I want!
So, I immediately (and unknowningly) started the first phase of the project: Research.
First, I start looking at parts. What are the possibilities? How much do things cost? What are common configurations like? I watched videos, I read articles, blogs, and consulted with peers at school. However, before choosing the hardware, I had to identify my use case, at least to some degree.
So I gave it some thought, and eventually I landed on these constraints:
- Must be remotely accessible
- Must have more computing power than my desktop and laptop
- Must have networking capabilities
- Must have wireless networking capabilities
- Must be relatively mobile (So I can easily bring it to CyFER club)
- Must look aesthetically pleasing (subjective but important as it will occupy space on my desk)
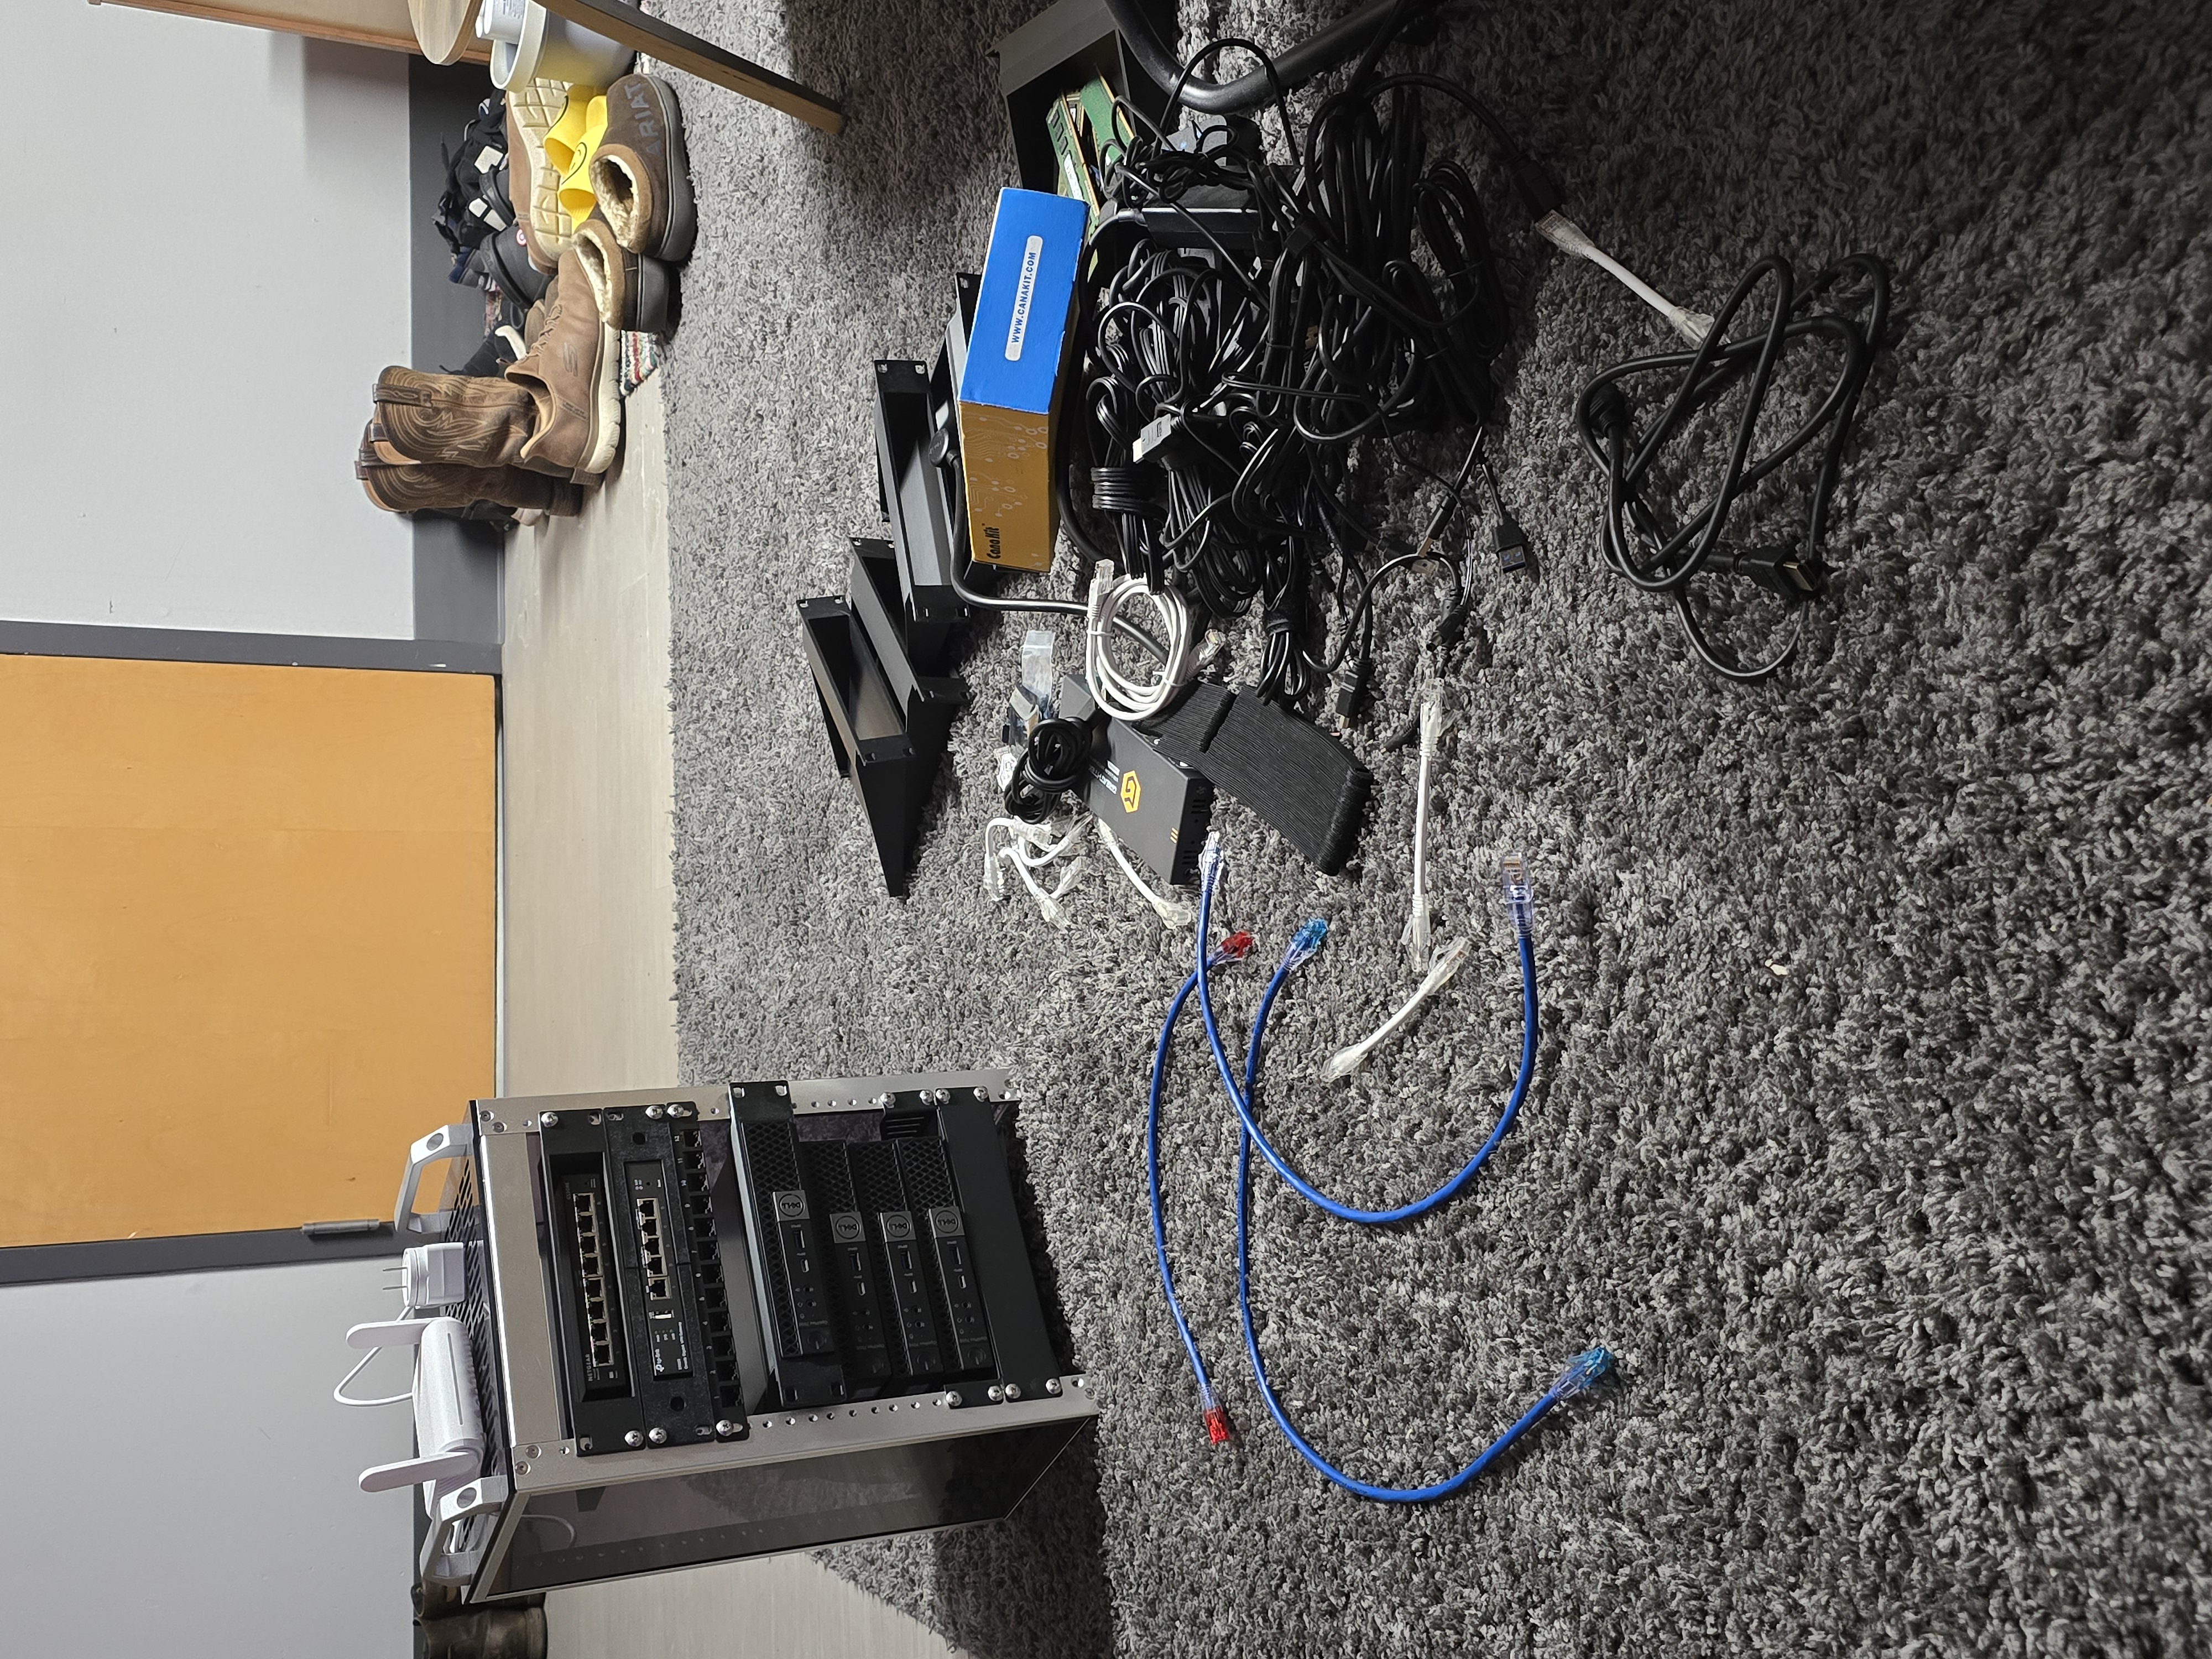
Once these constraints were identified, I began researching hardware. I first started with used items on Ebay.
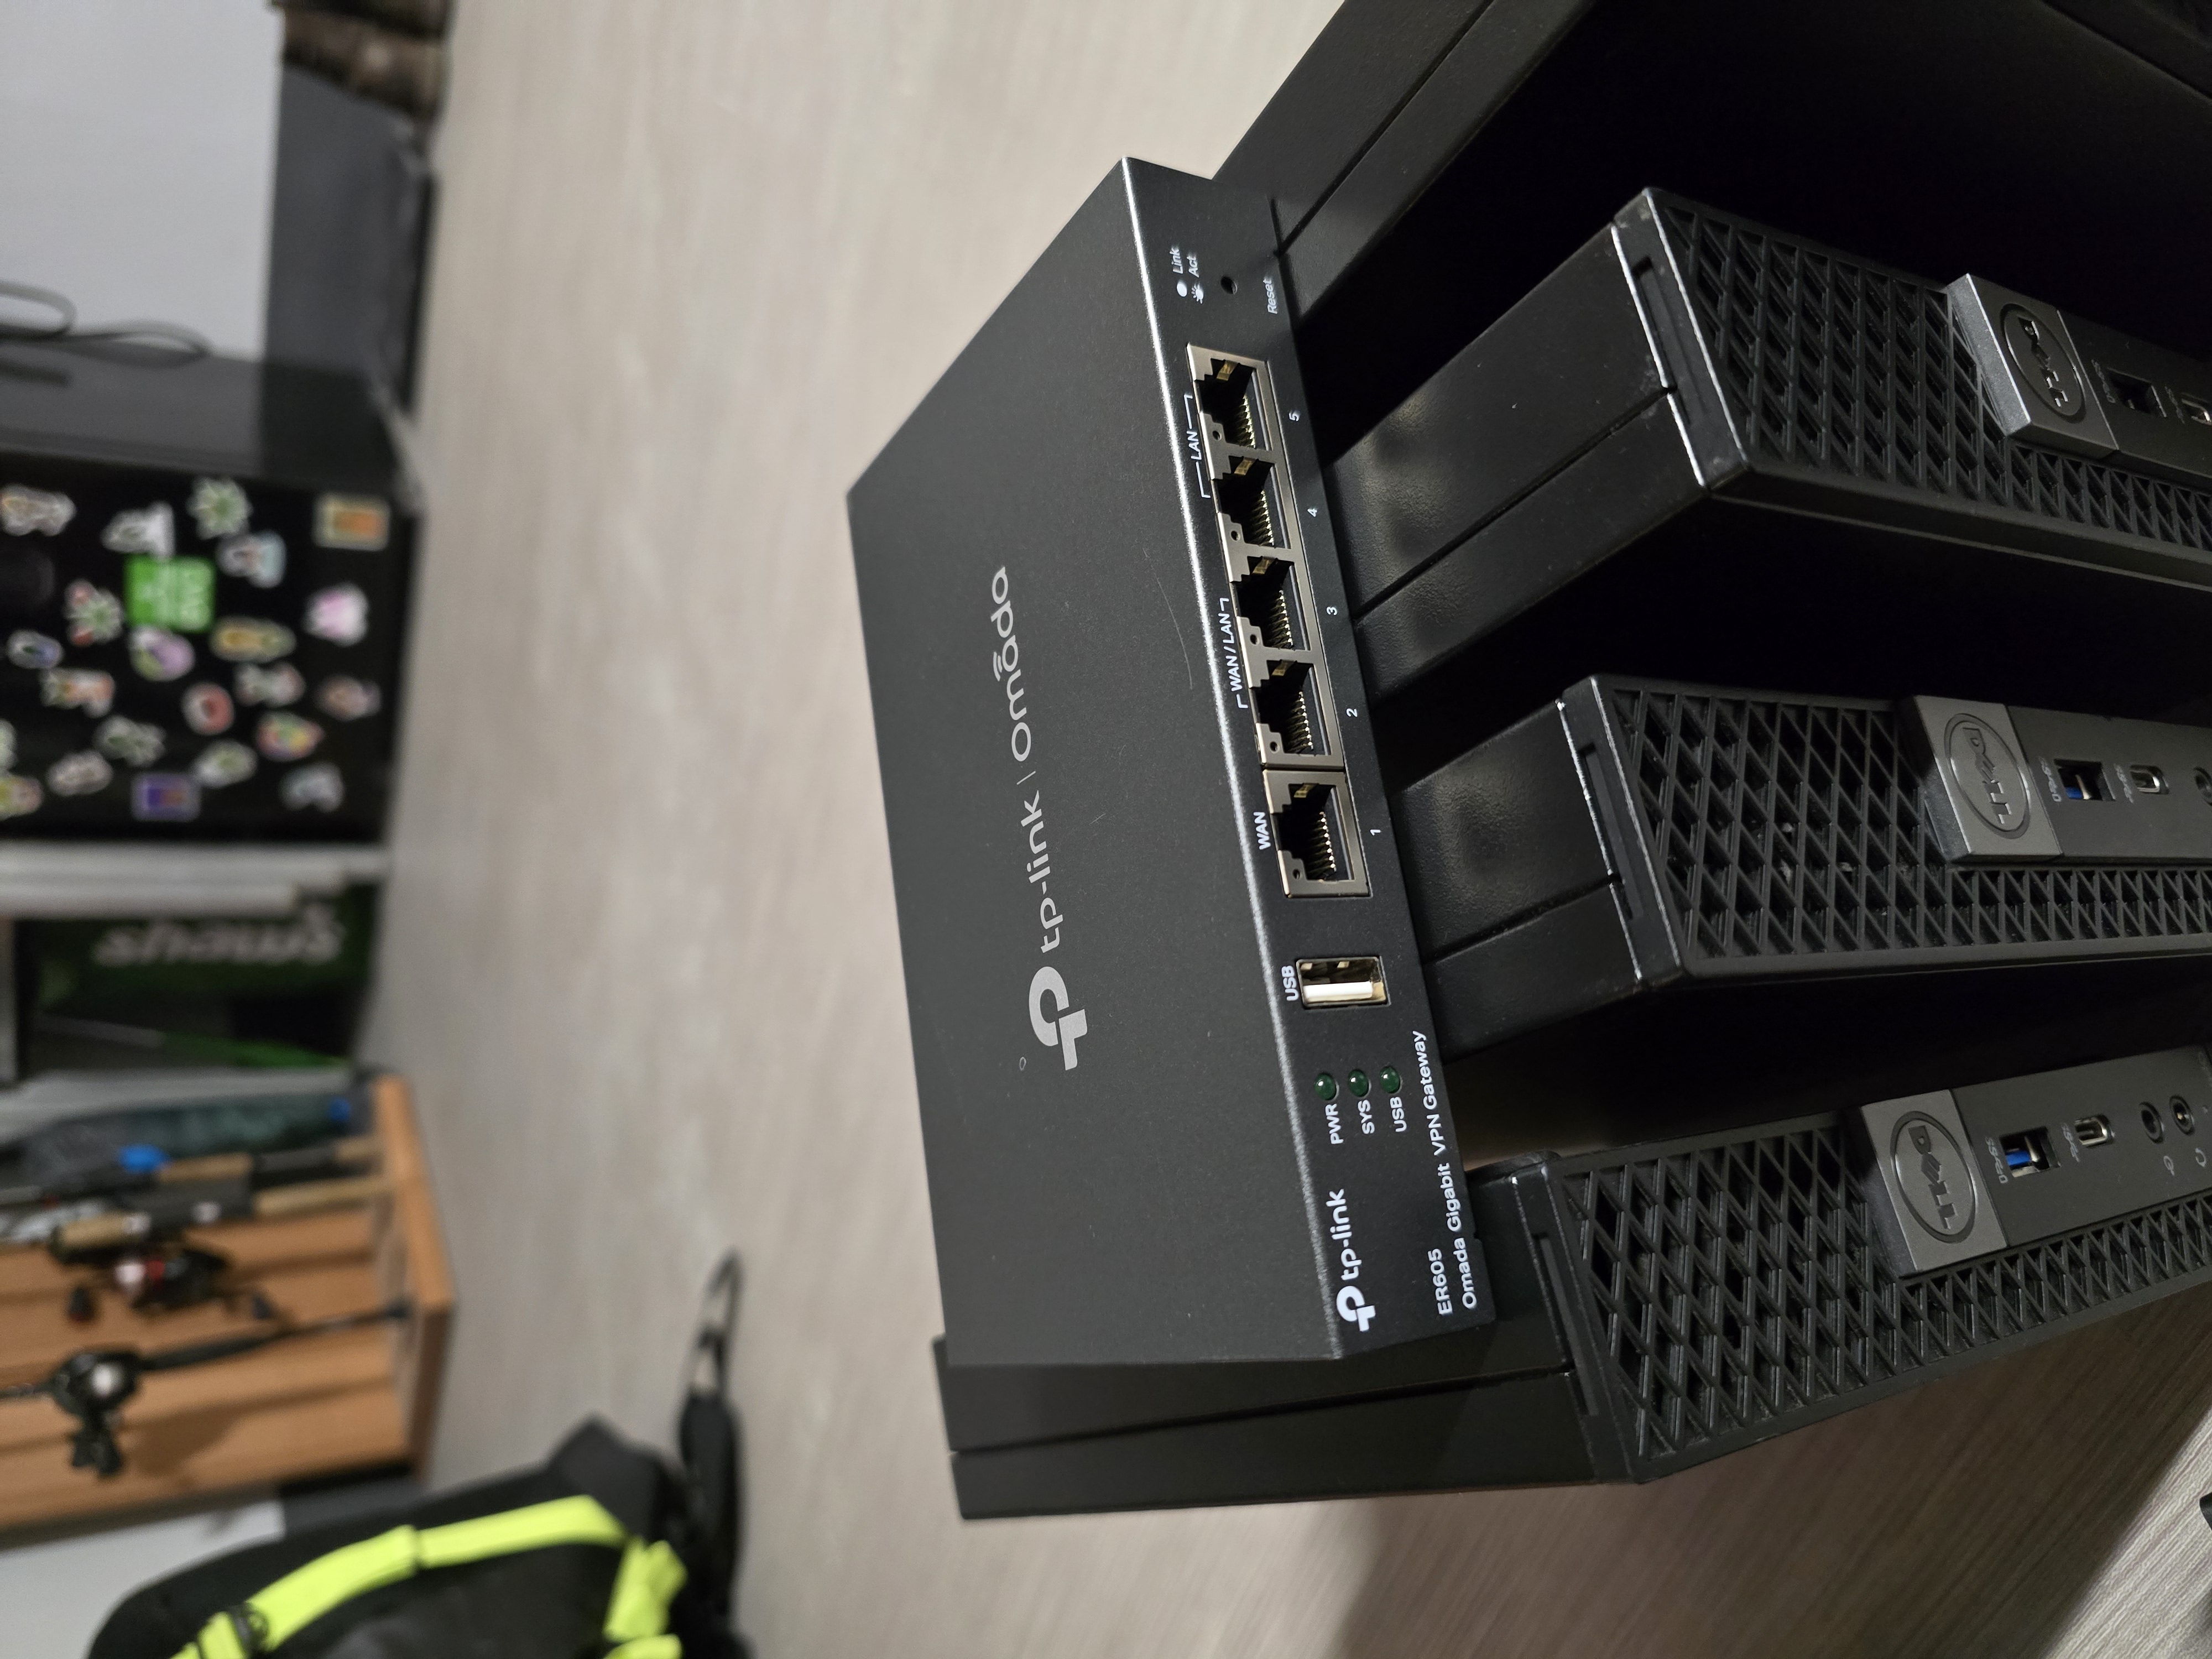
I found a used TP-Link ER605 V2 Omada 5-Port Gigabit Ethernent Router for 40 bucks. While it didn't have wireless, I liked the idea of having seperate Ethernet and WiFi routers, so that the rack could still run if I wanted to use the Wireless router for something else. It also had multiple WAN ports which is a plus, and I knew I could flash OpenWRT onto it.
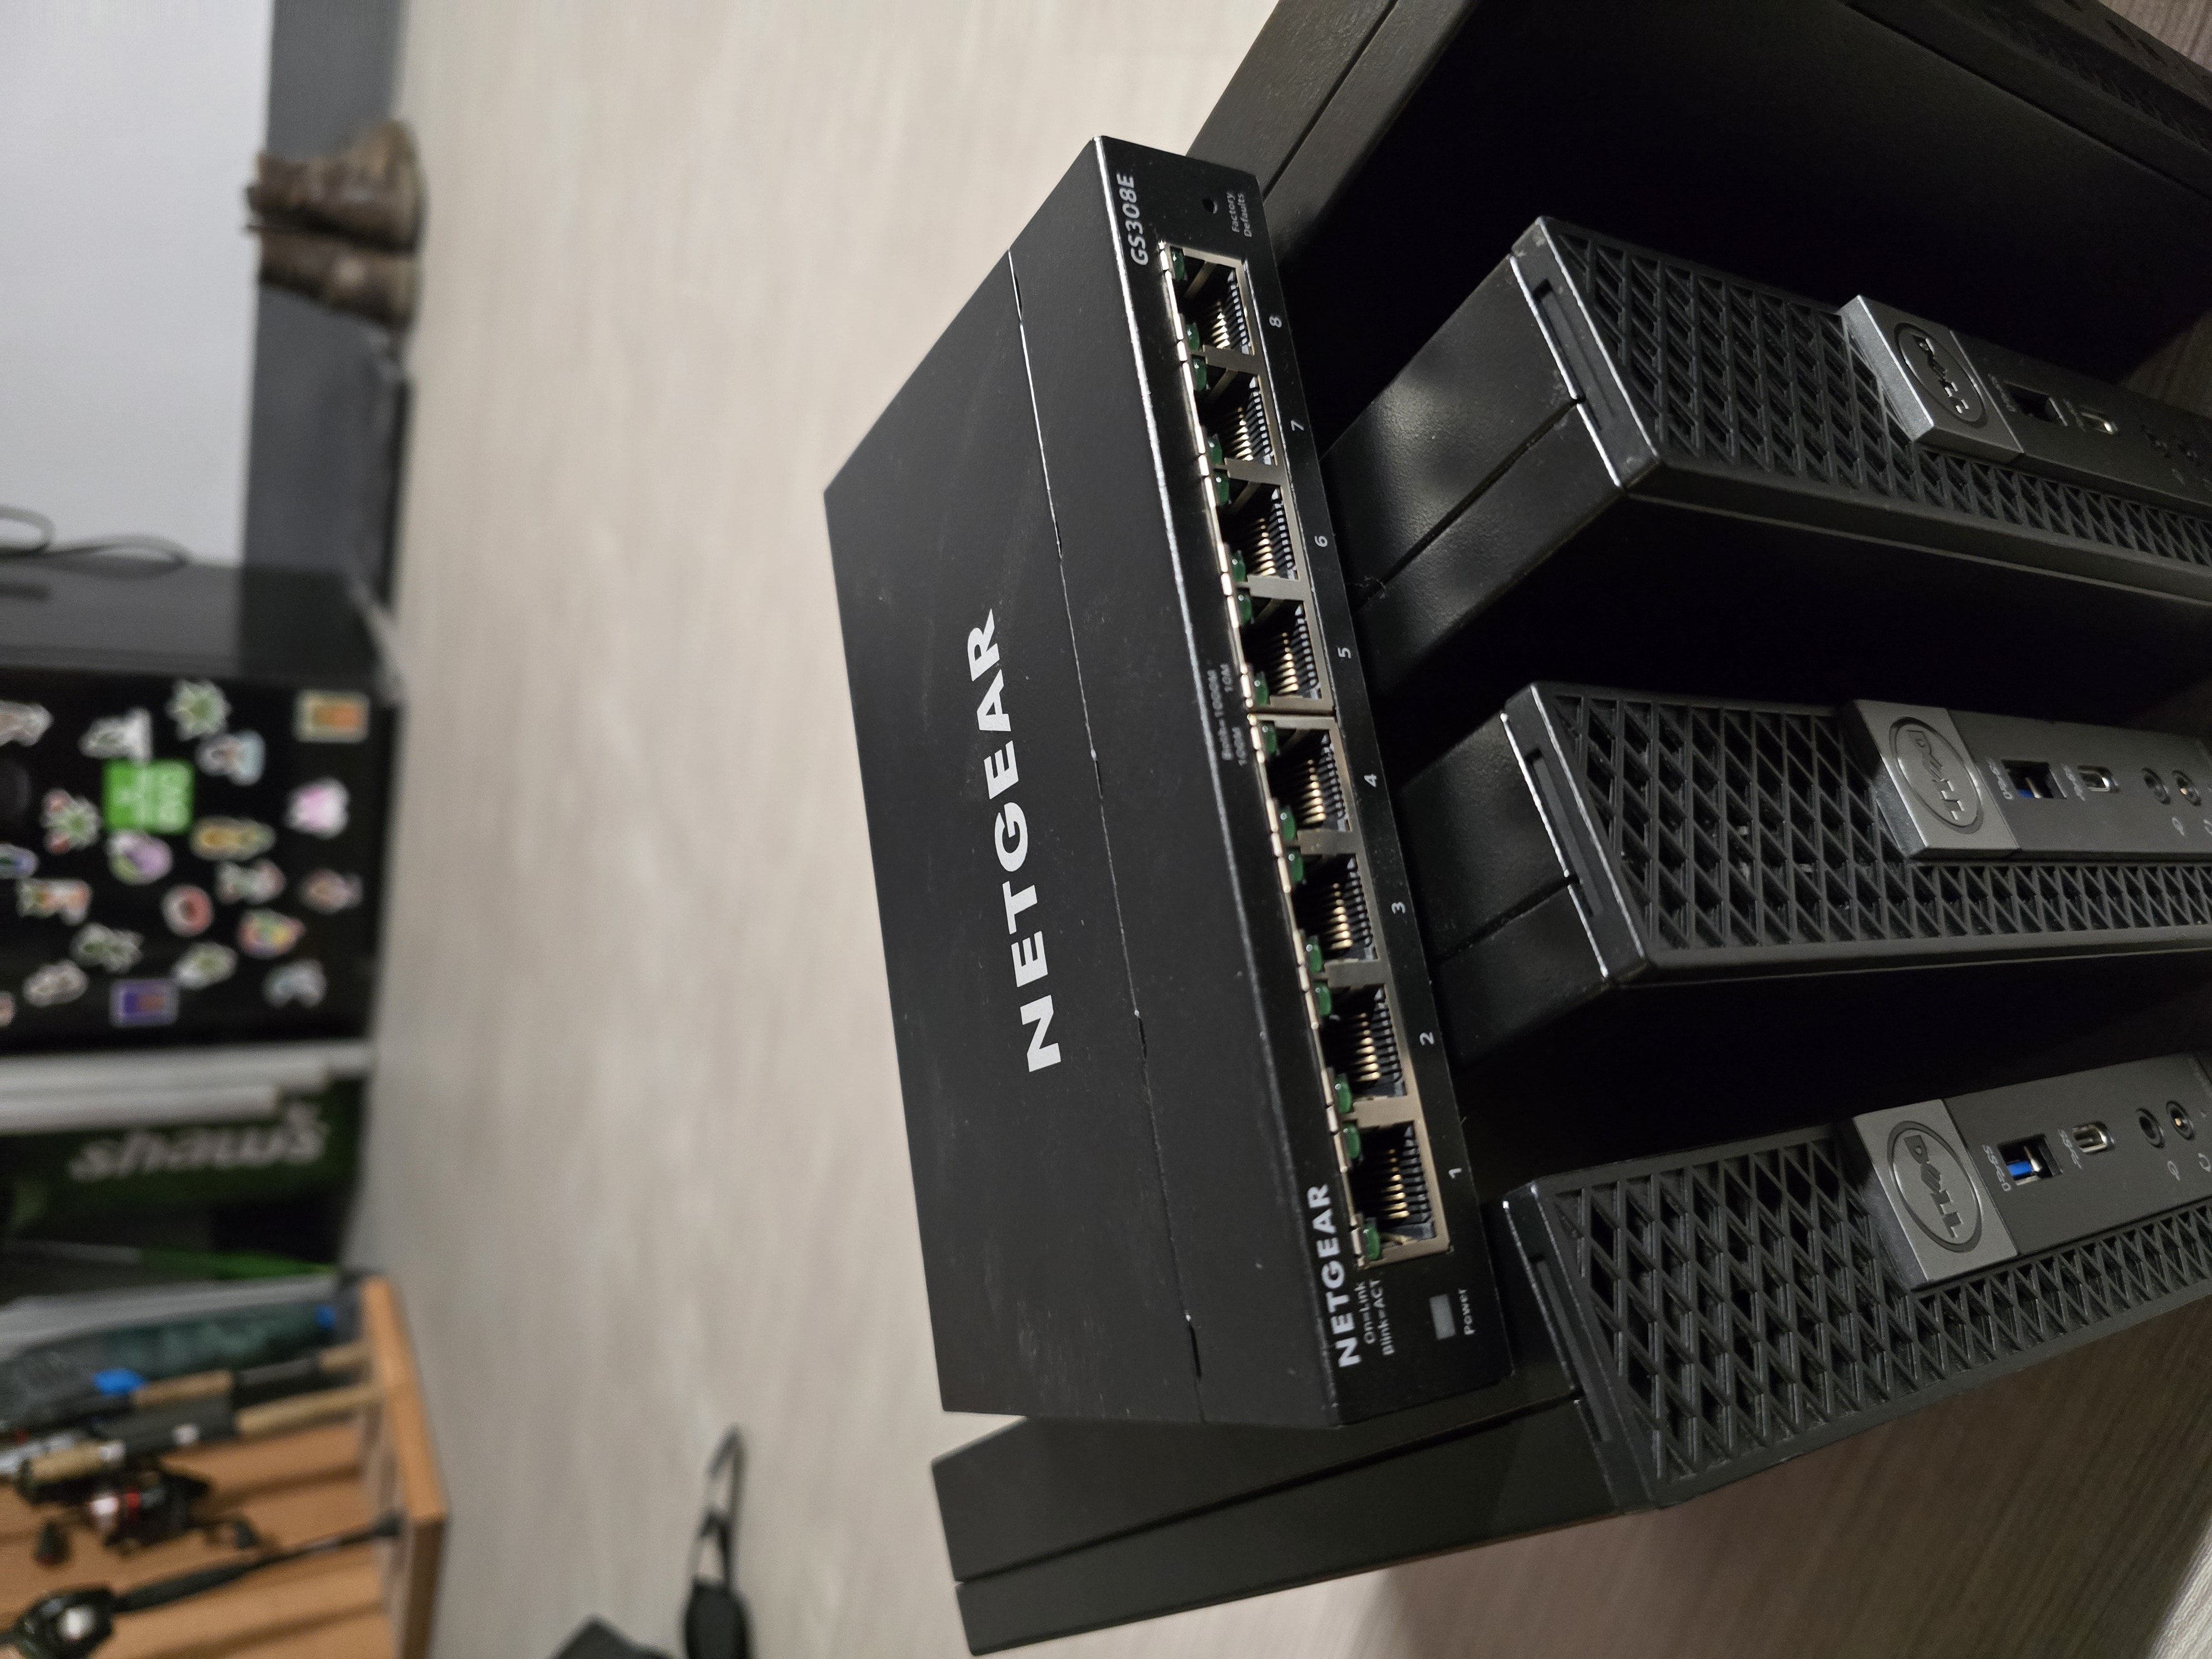
Then, I found a used Netgear 8-Port Gigabit Managed Switch for 24 bucks. This was a no brainer.
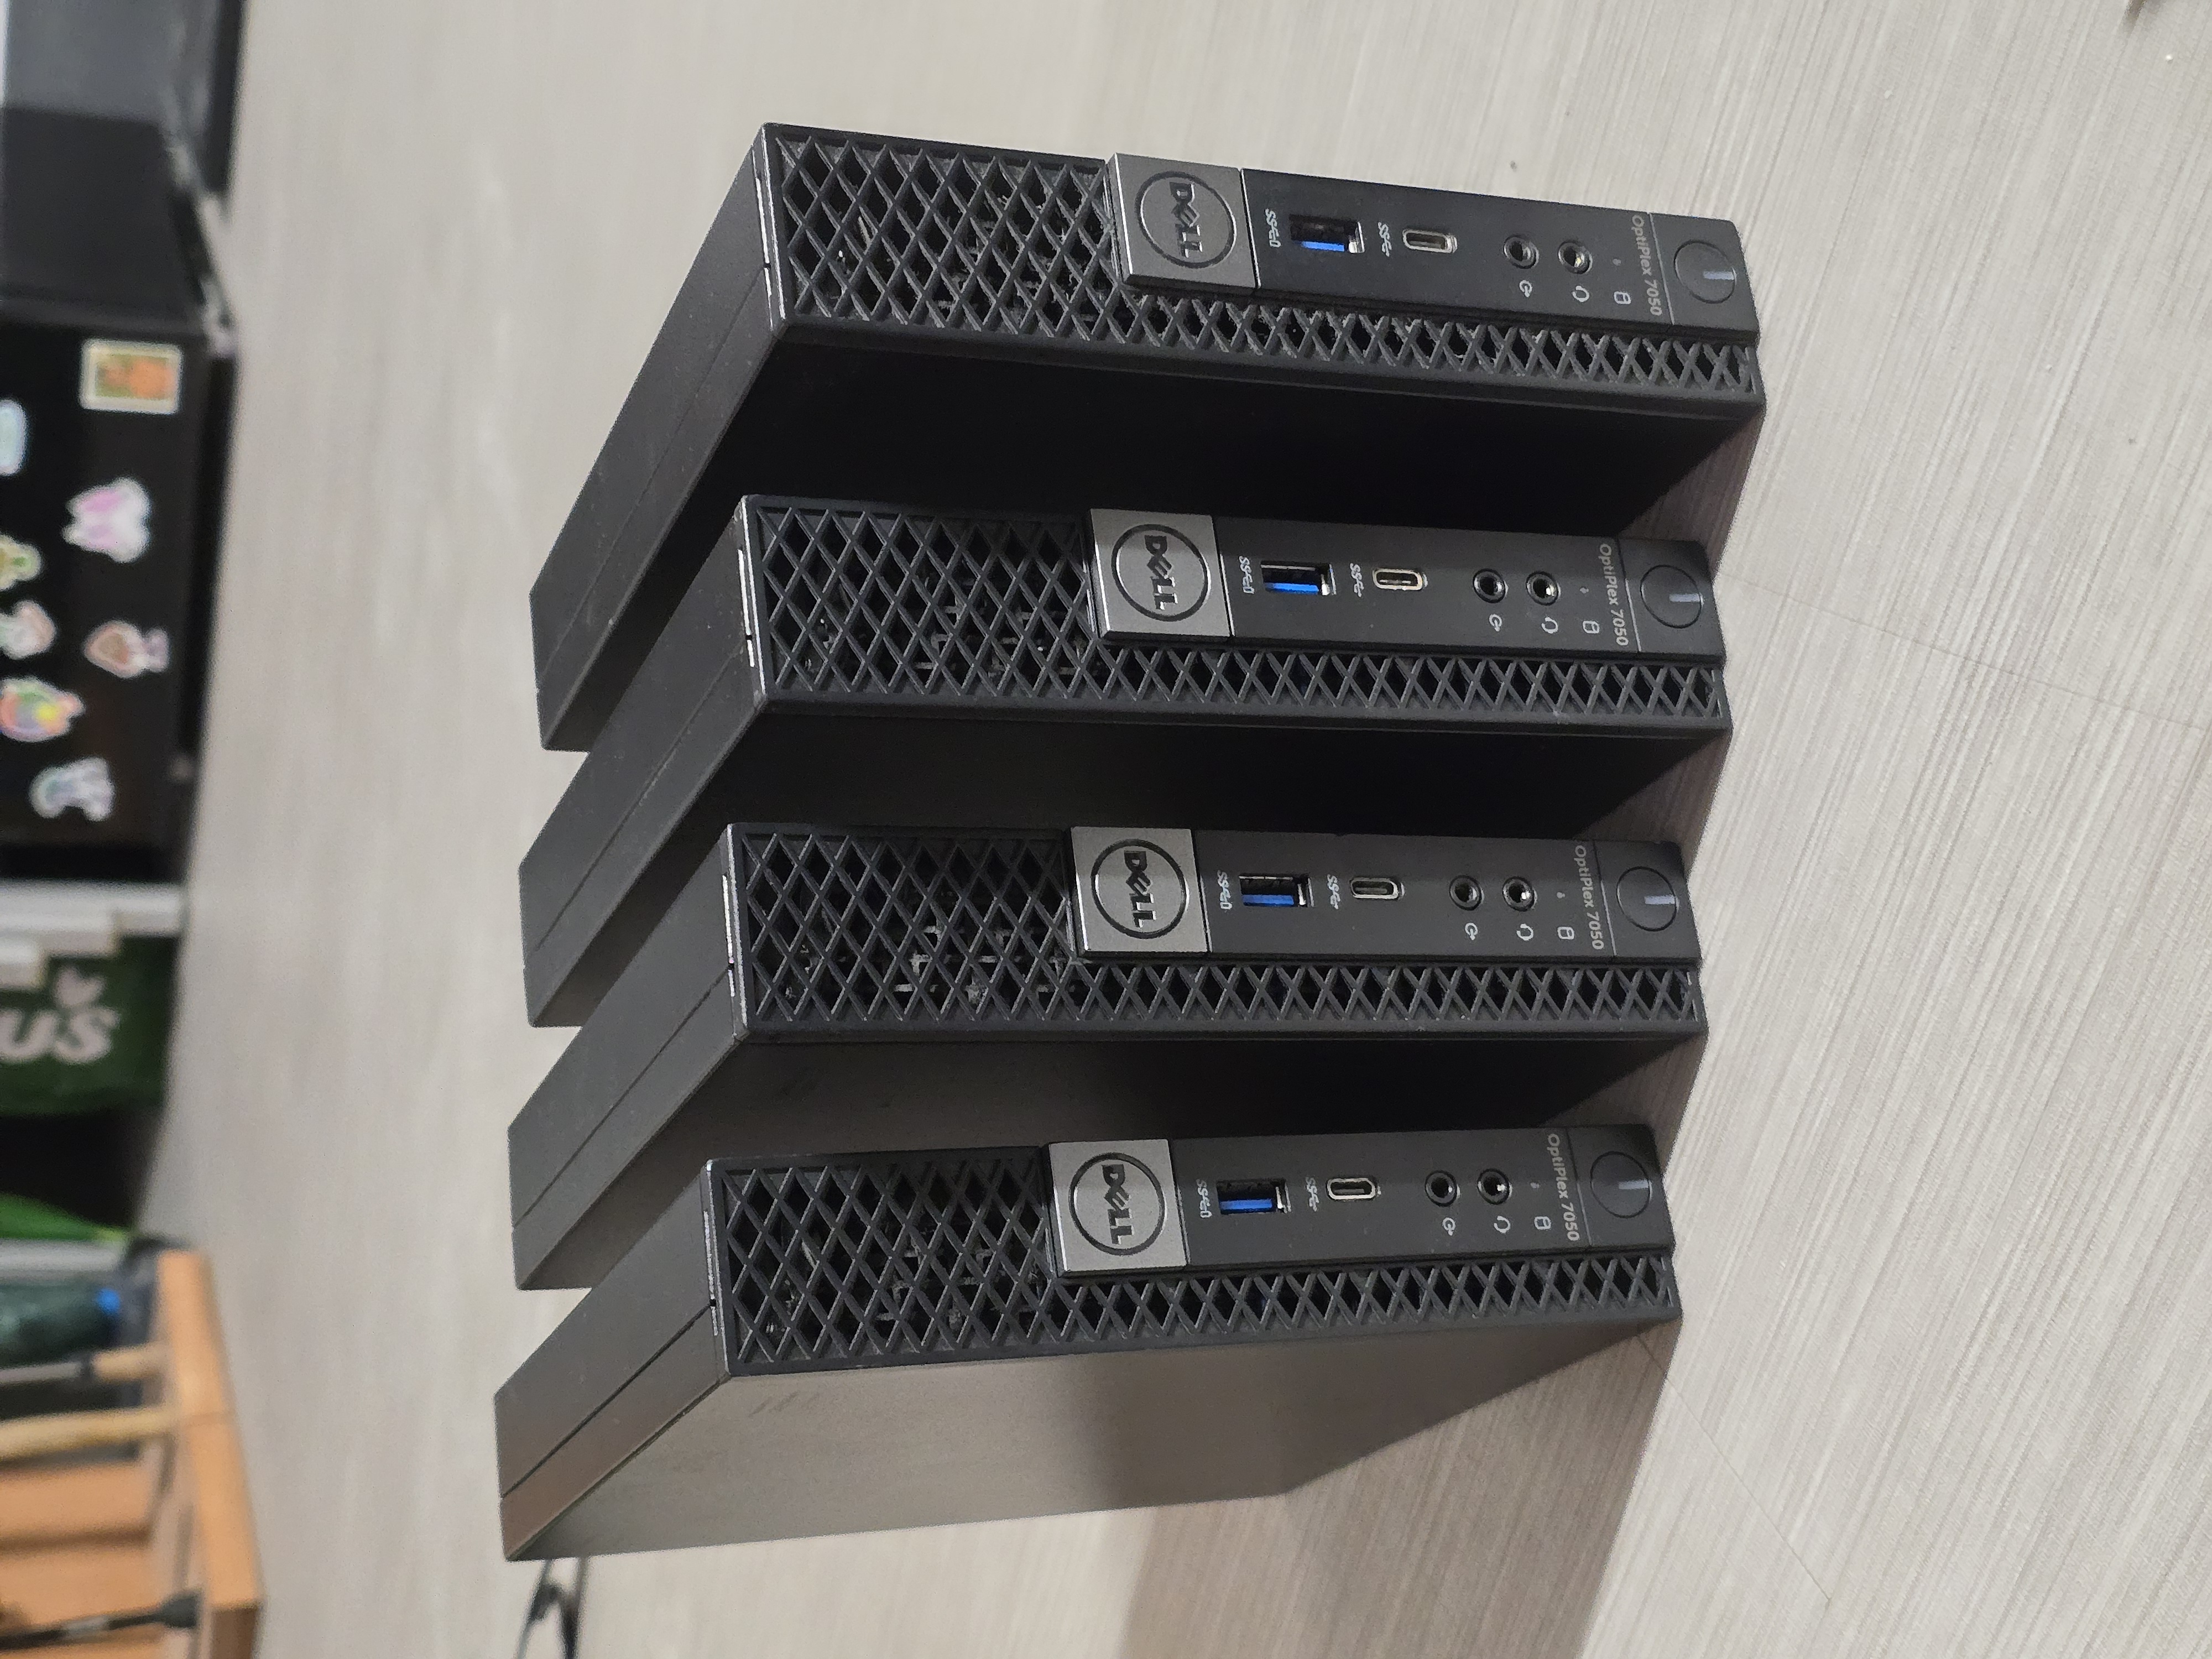
Lastly, I purchased 4 used Dell Optiplex Micro 7050's for my computing power, for roughly $71 each. They came with 256 Gigabytes of M.2 storage, which was great. They only had 8 Gigabytes of RAM though, so I want to upgrade the RAM in the future.
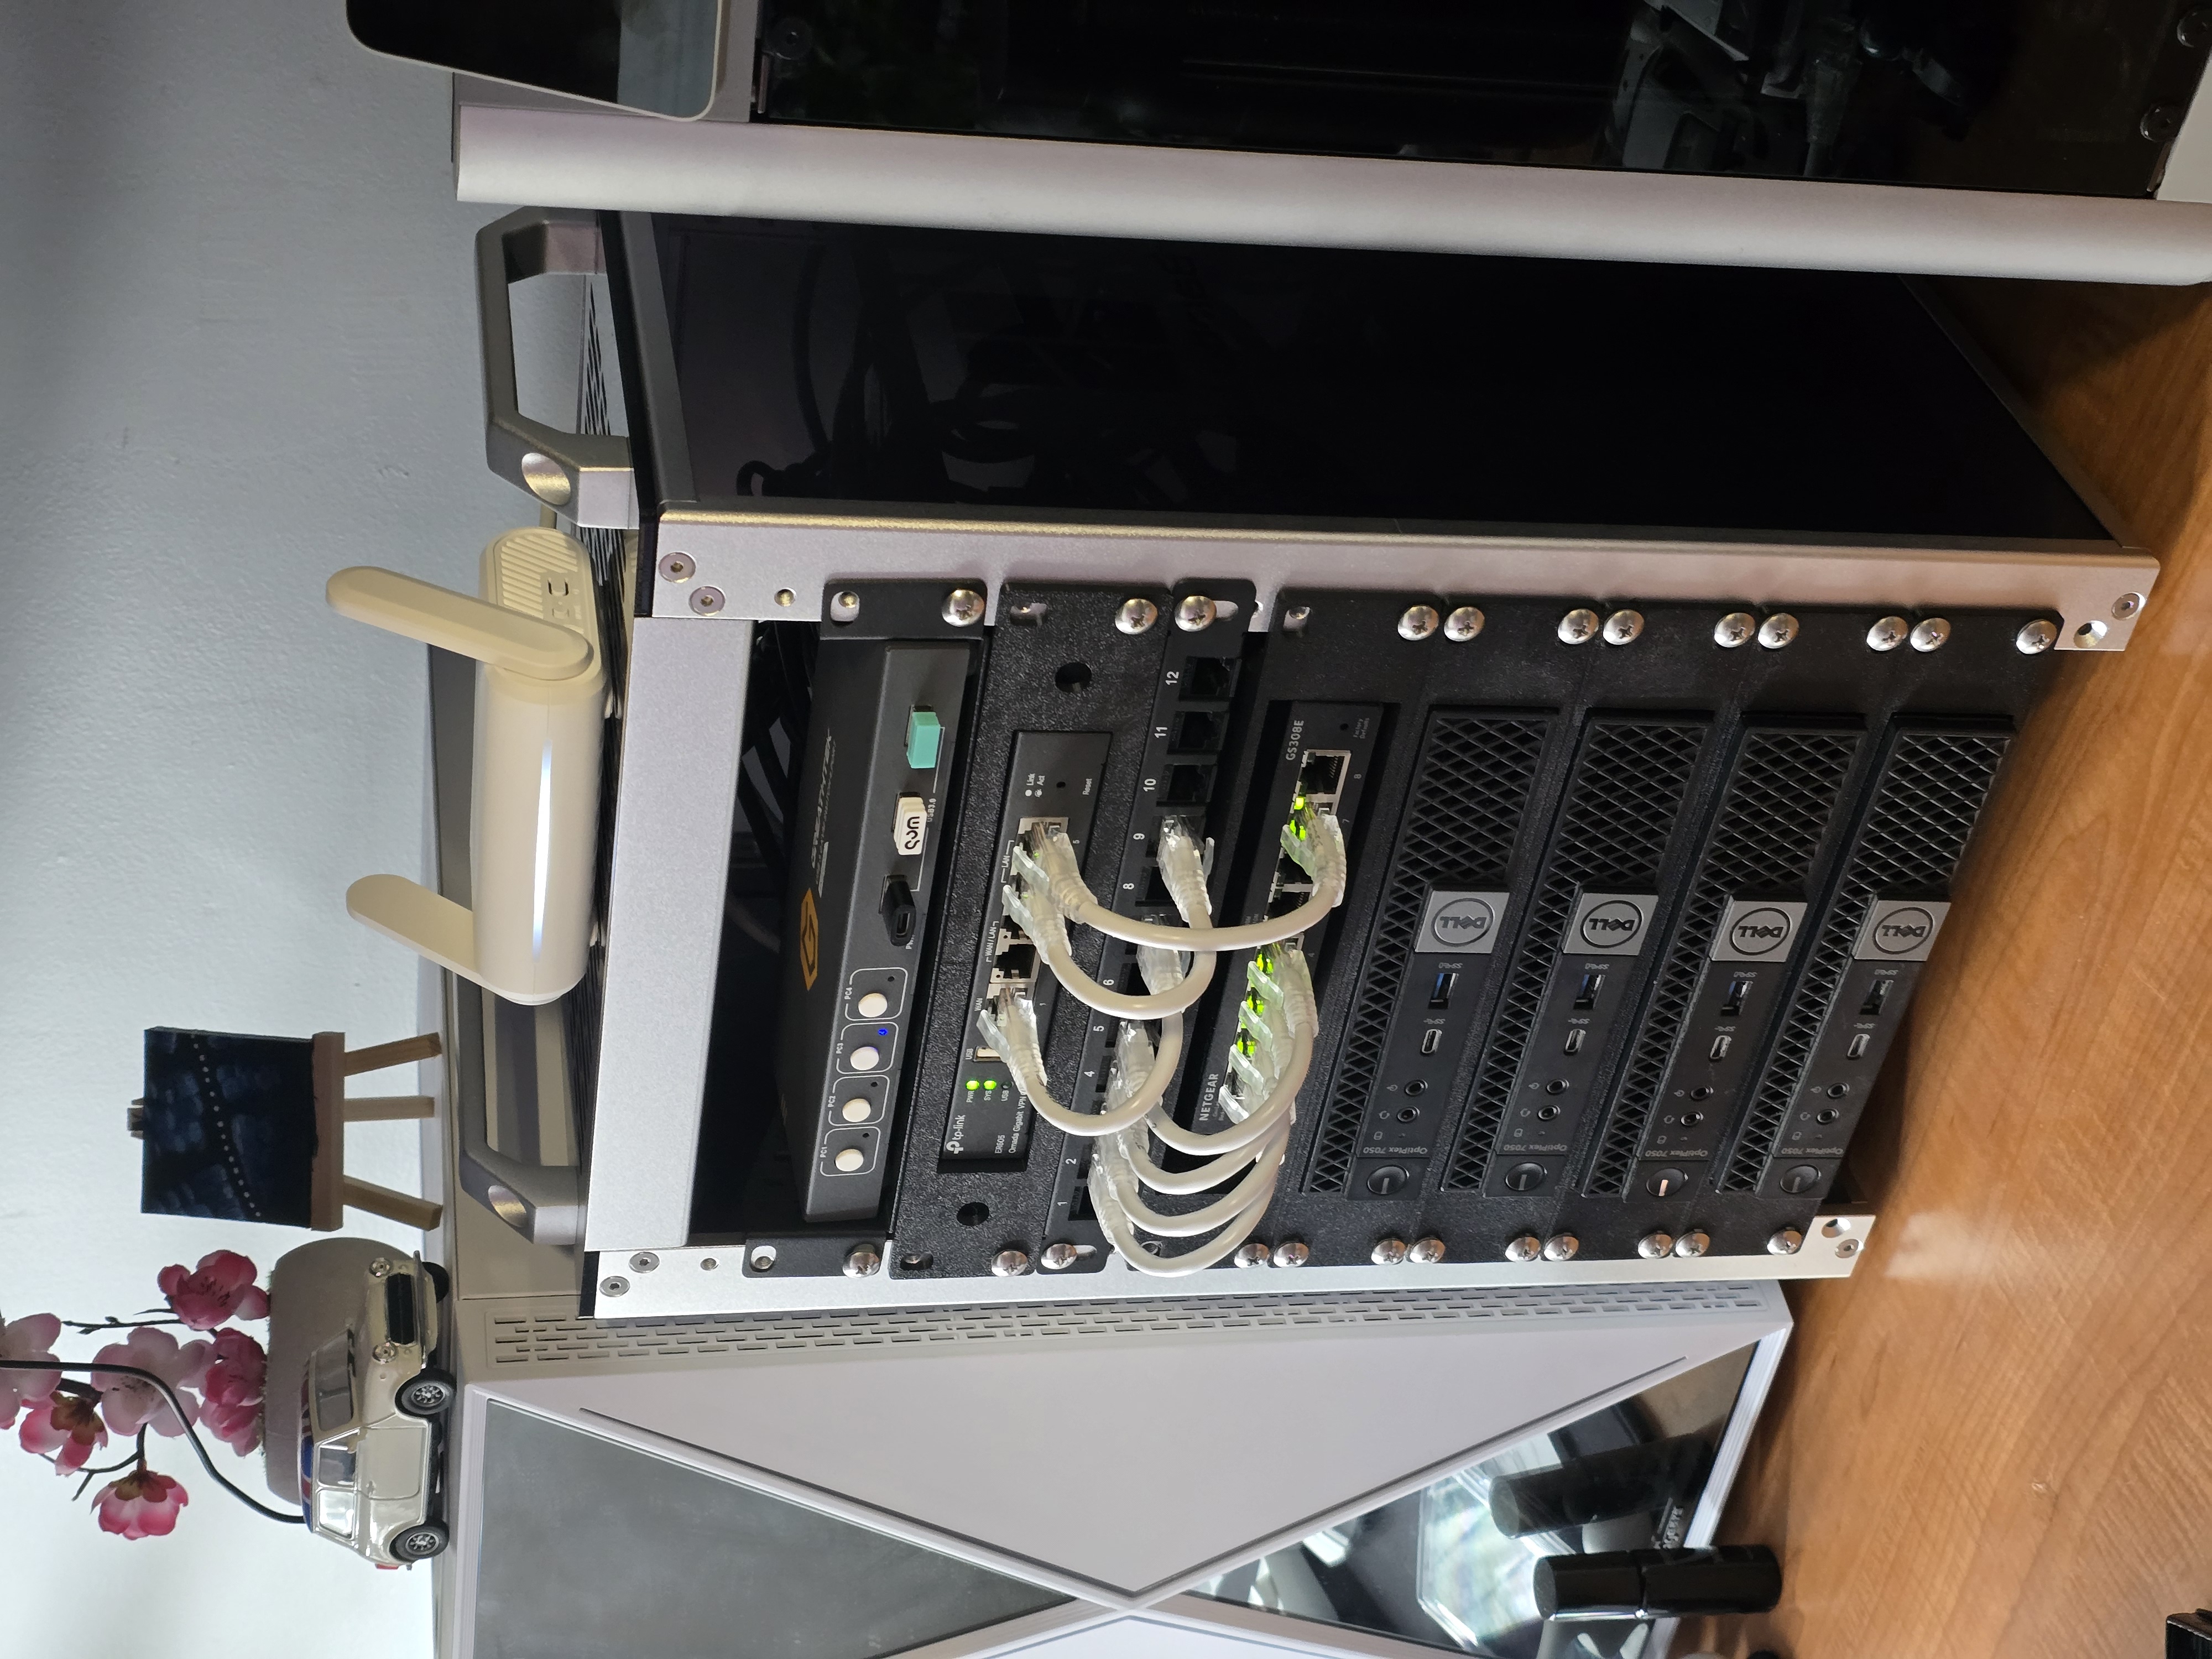
There only thing I didn't want to buy used was the Rack. I wanted it to look nice and be robust. So I ended up purchasing a DeskPi RackMate T1, which is an awesome 10" mini rack:
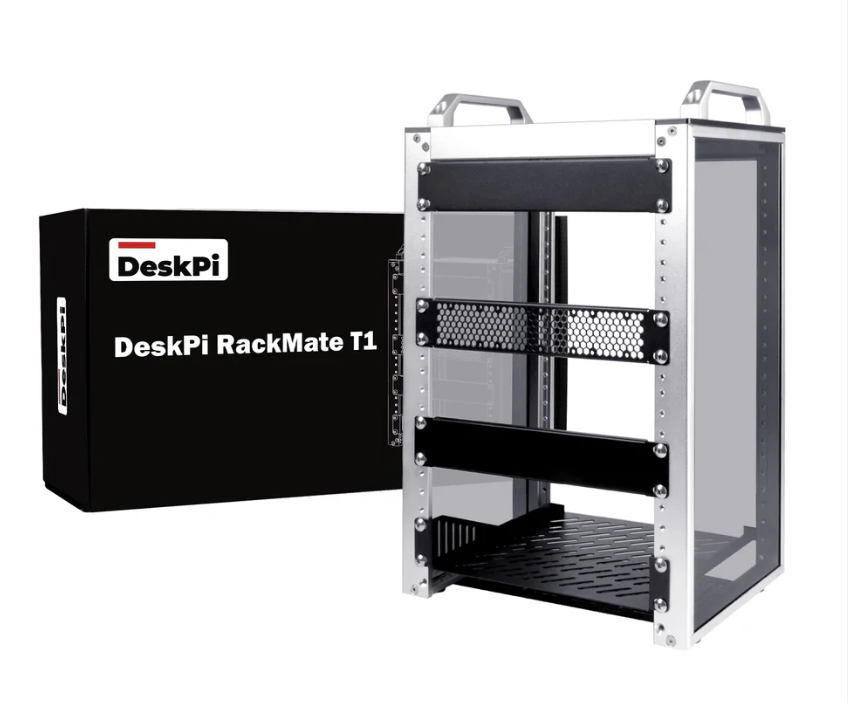
Now that I have all of the parts, it is time to move on to assembly!
I first started by putting the Optiplexes into the rack, using my 3D Printed mounts.
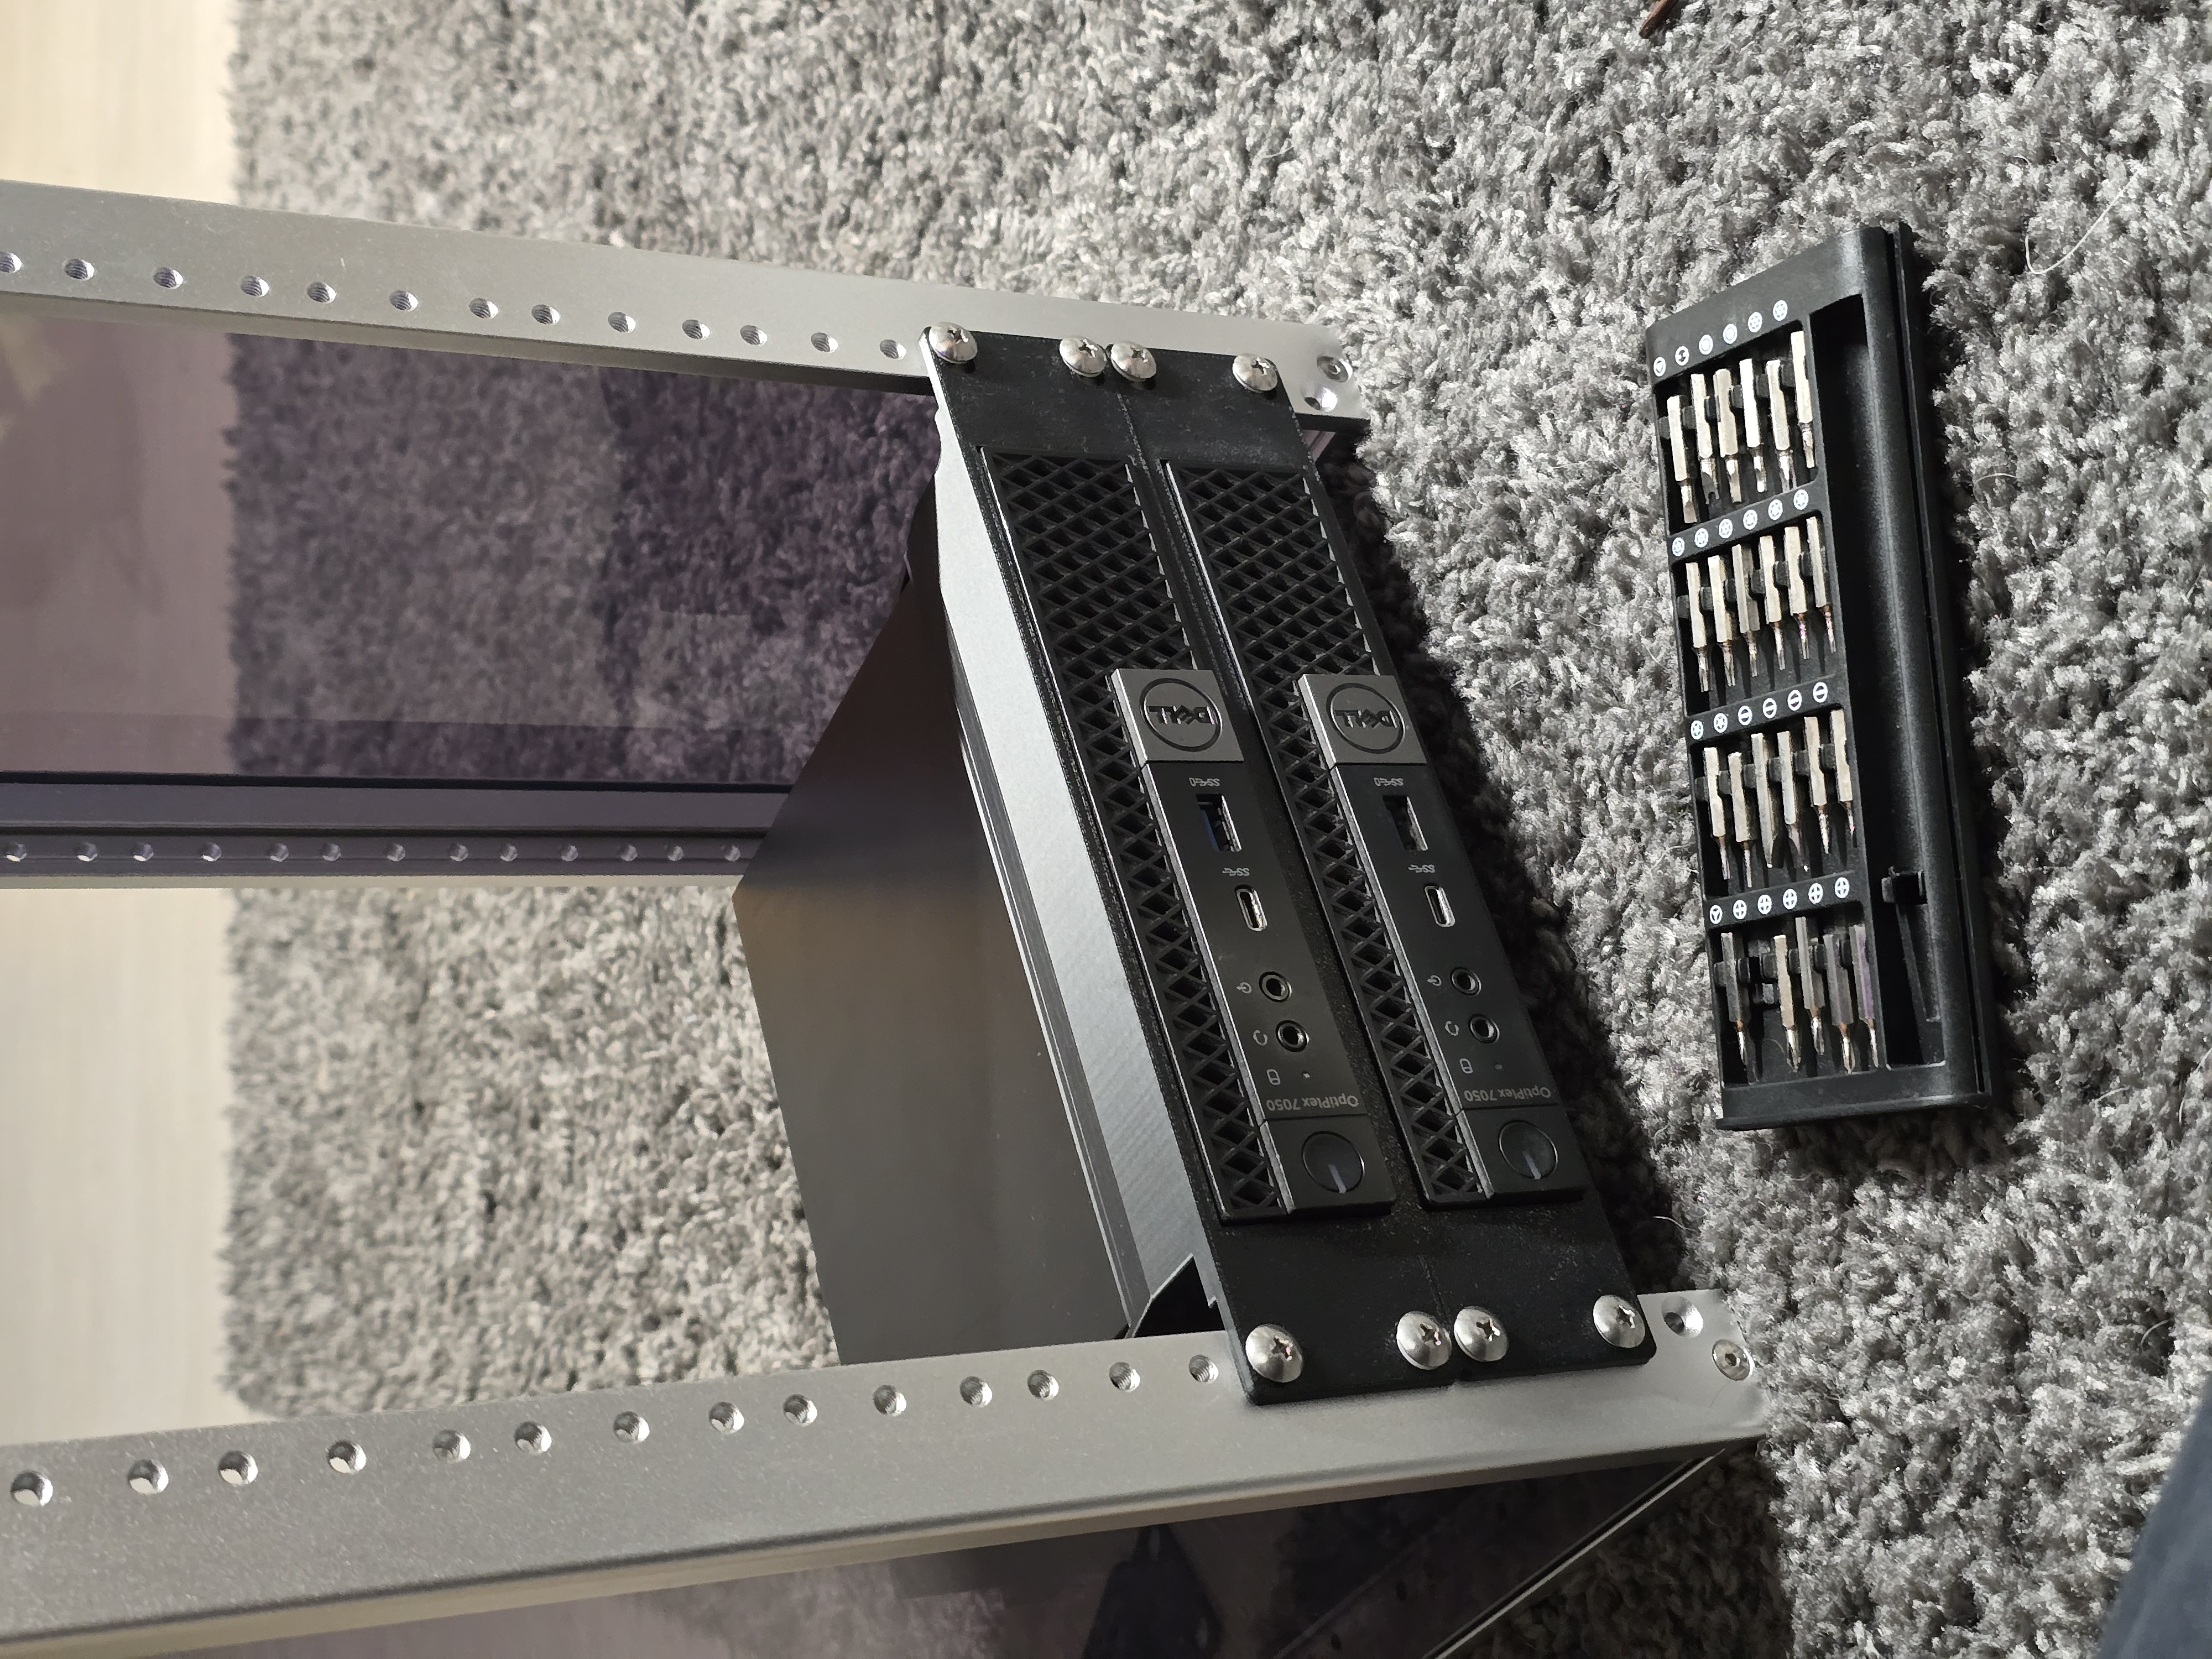
I designed the mount myself, using Fusion360, if you would like the model, feel free to email me!

Then I filled in the rest of the rack. I placed the patch panel in between the router and the switch, so that my patch ethernet cables could reach the ports on both devices easily.
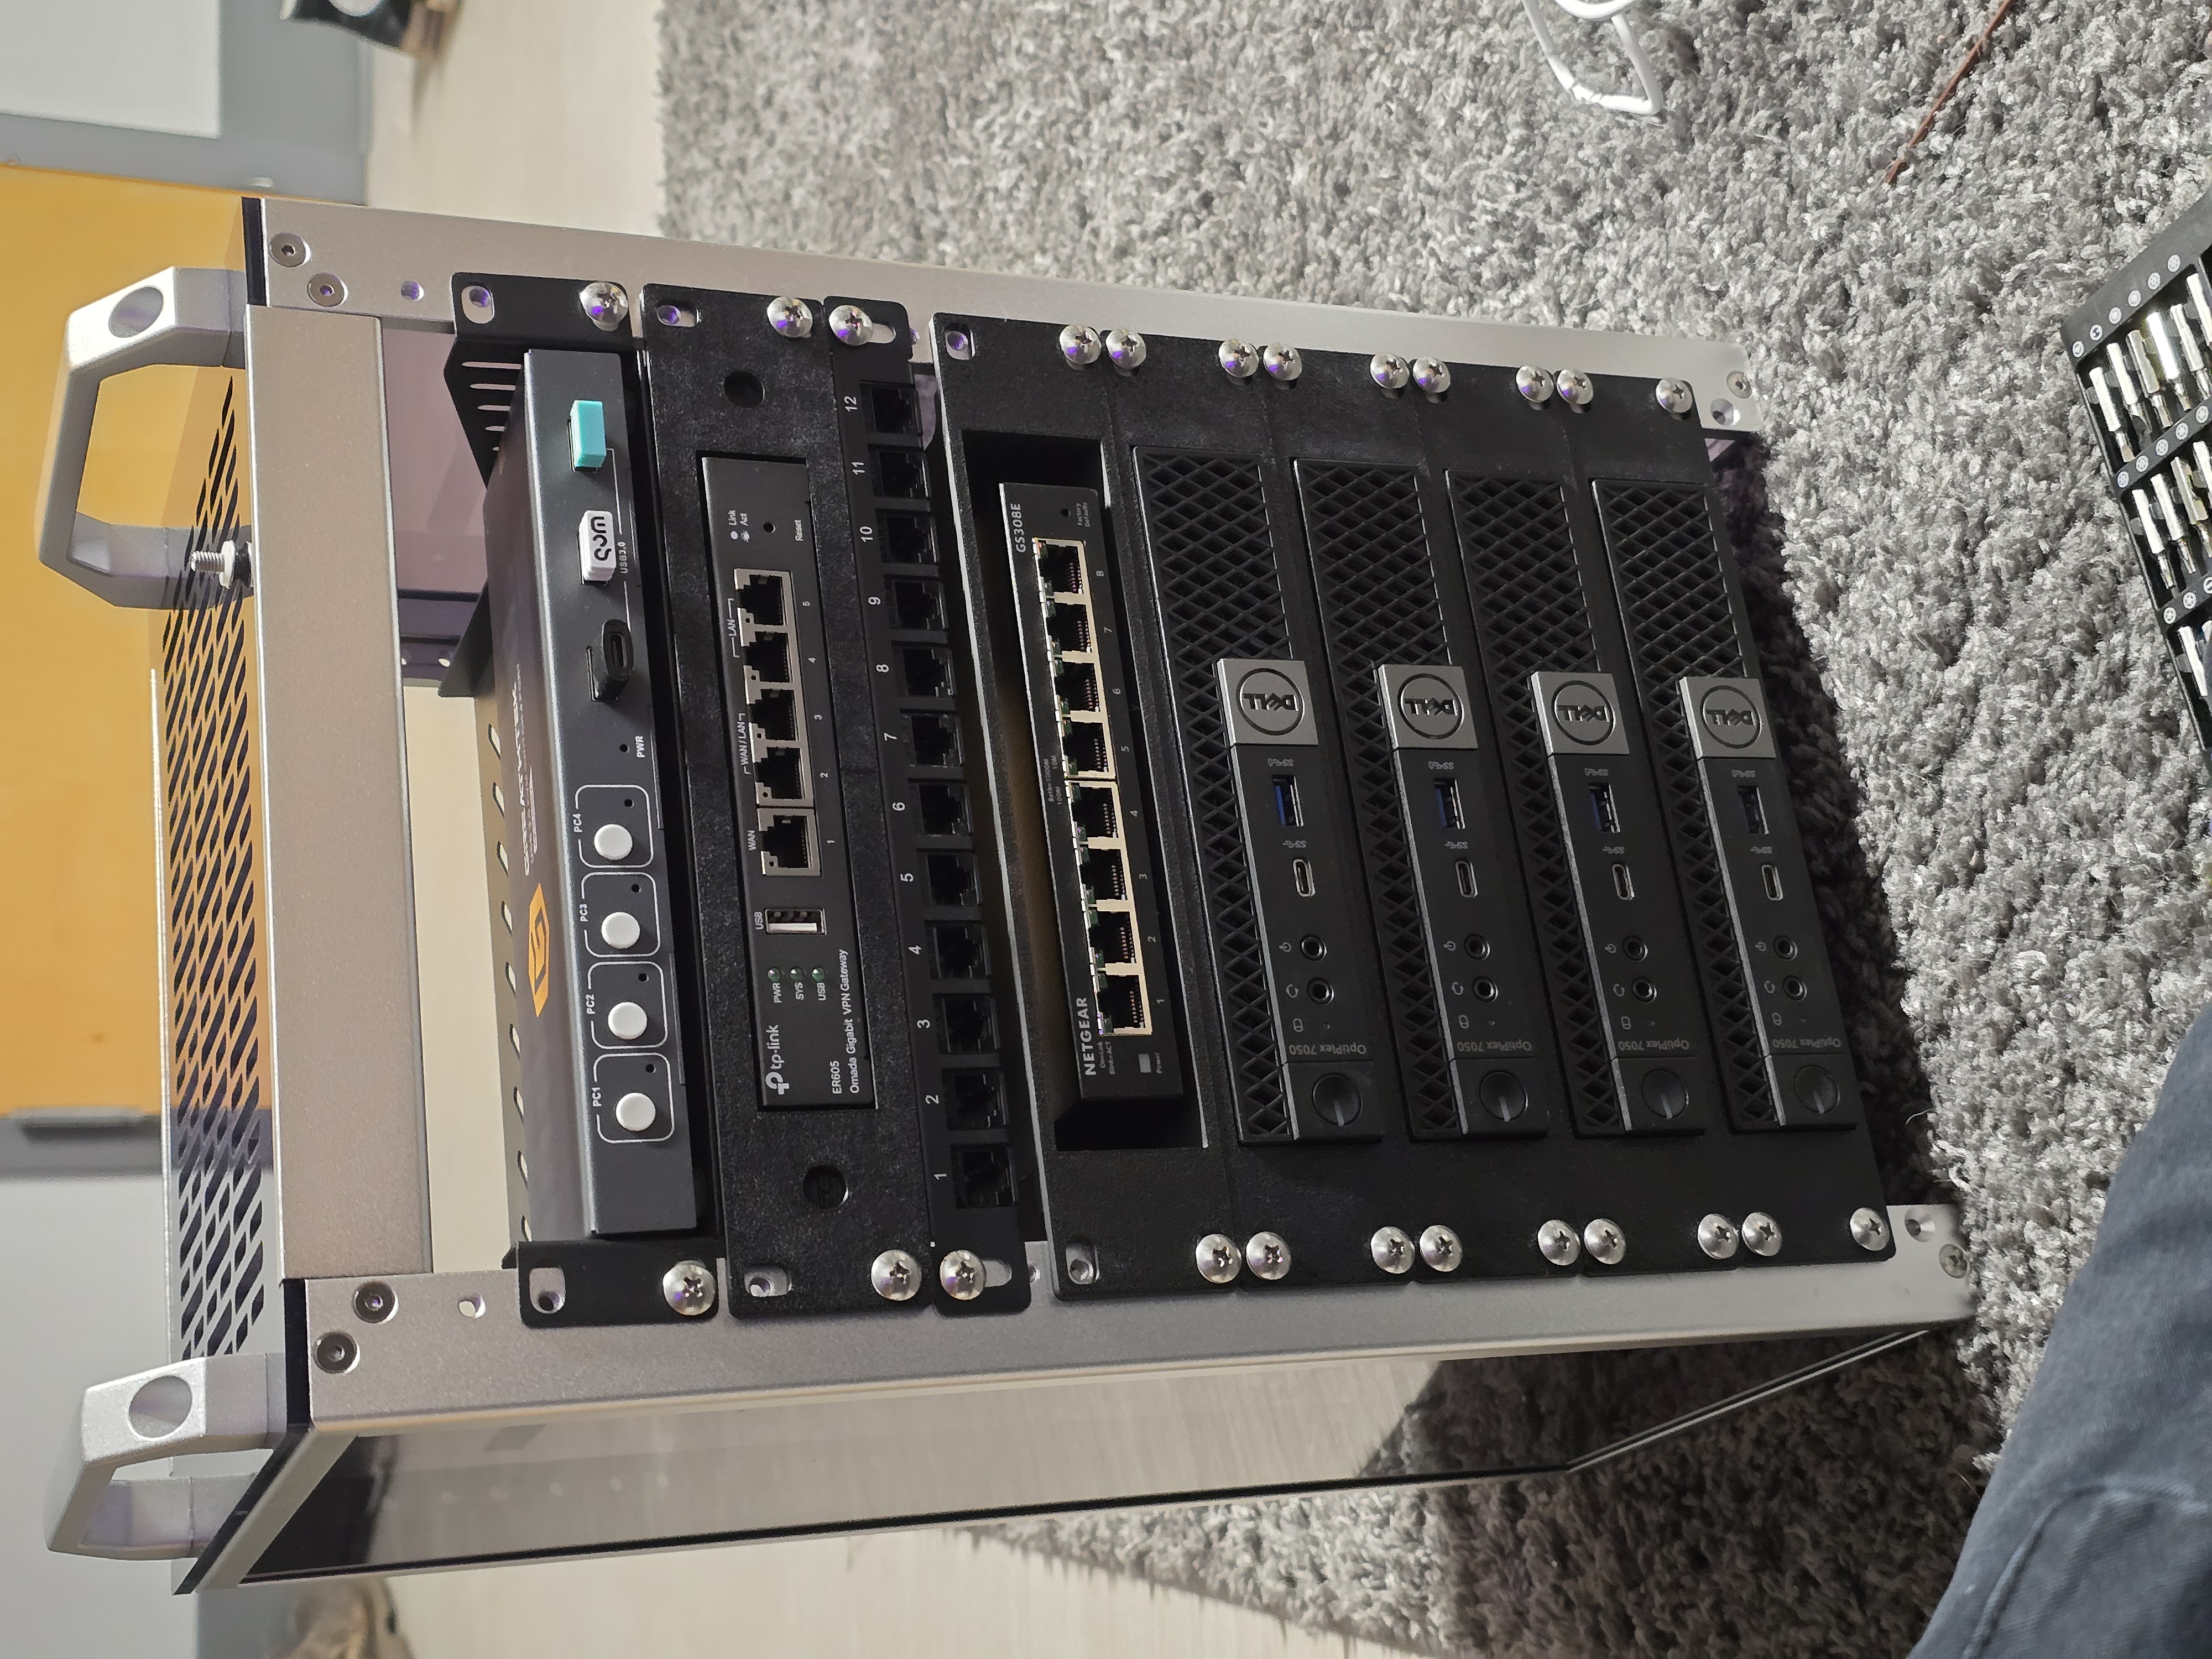
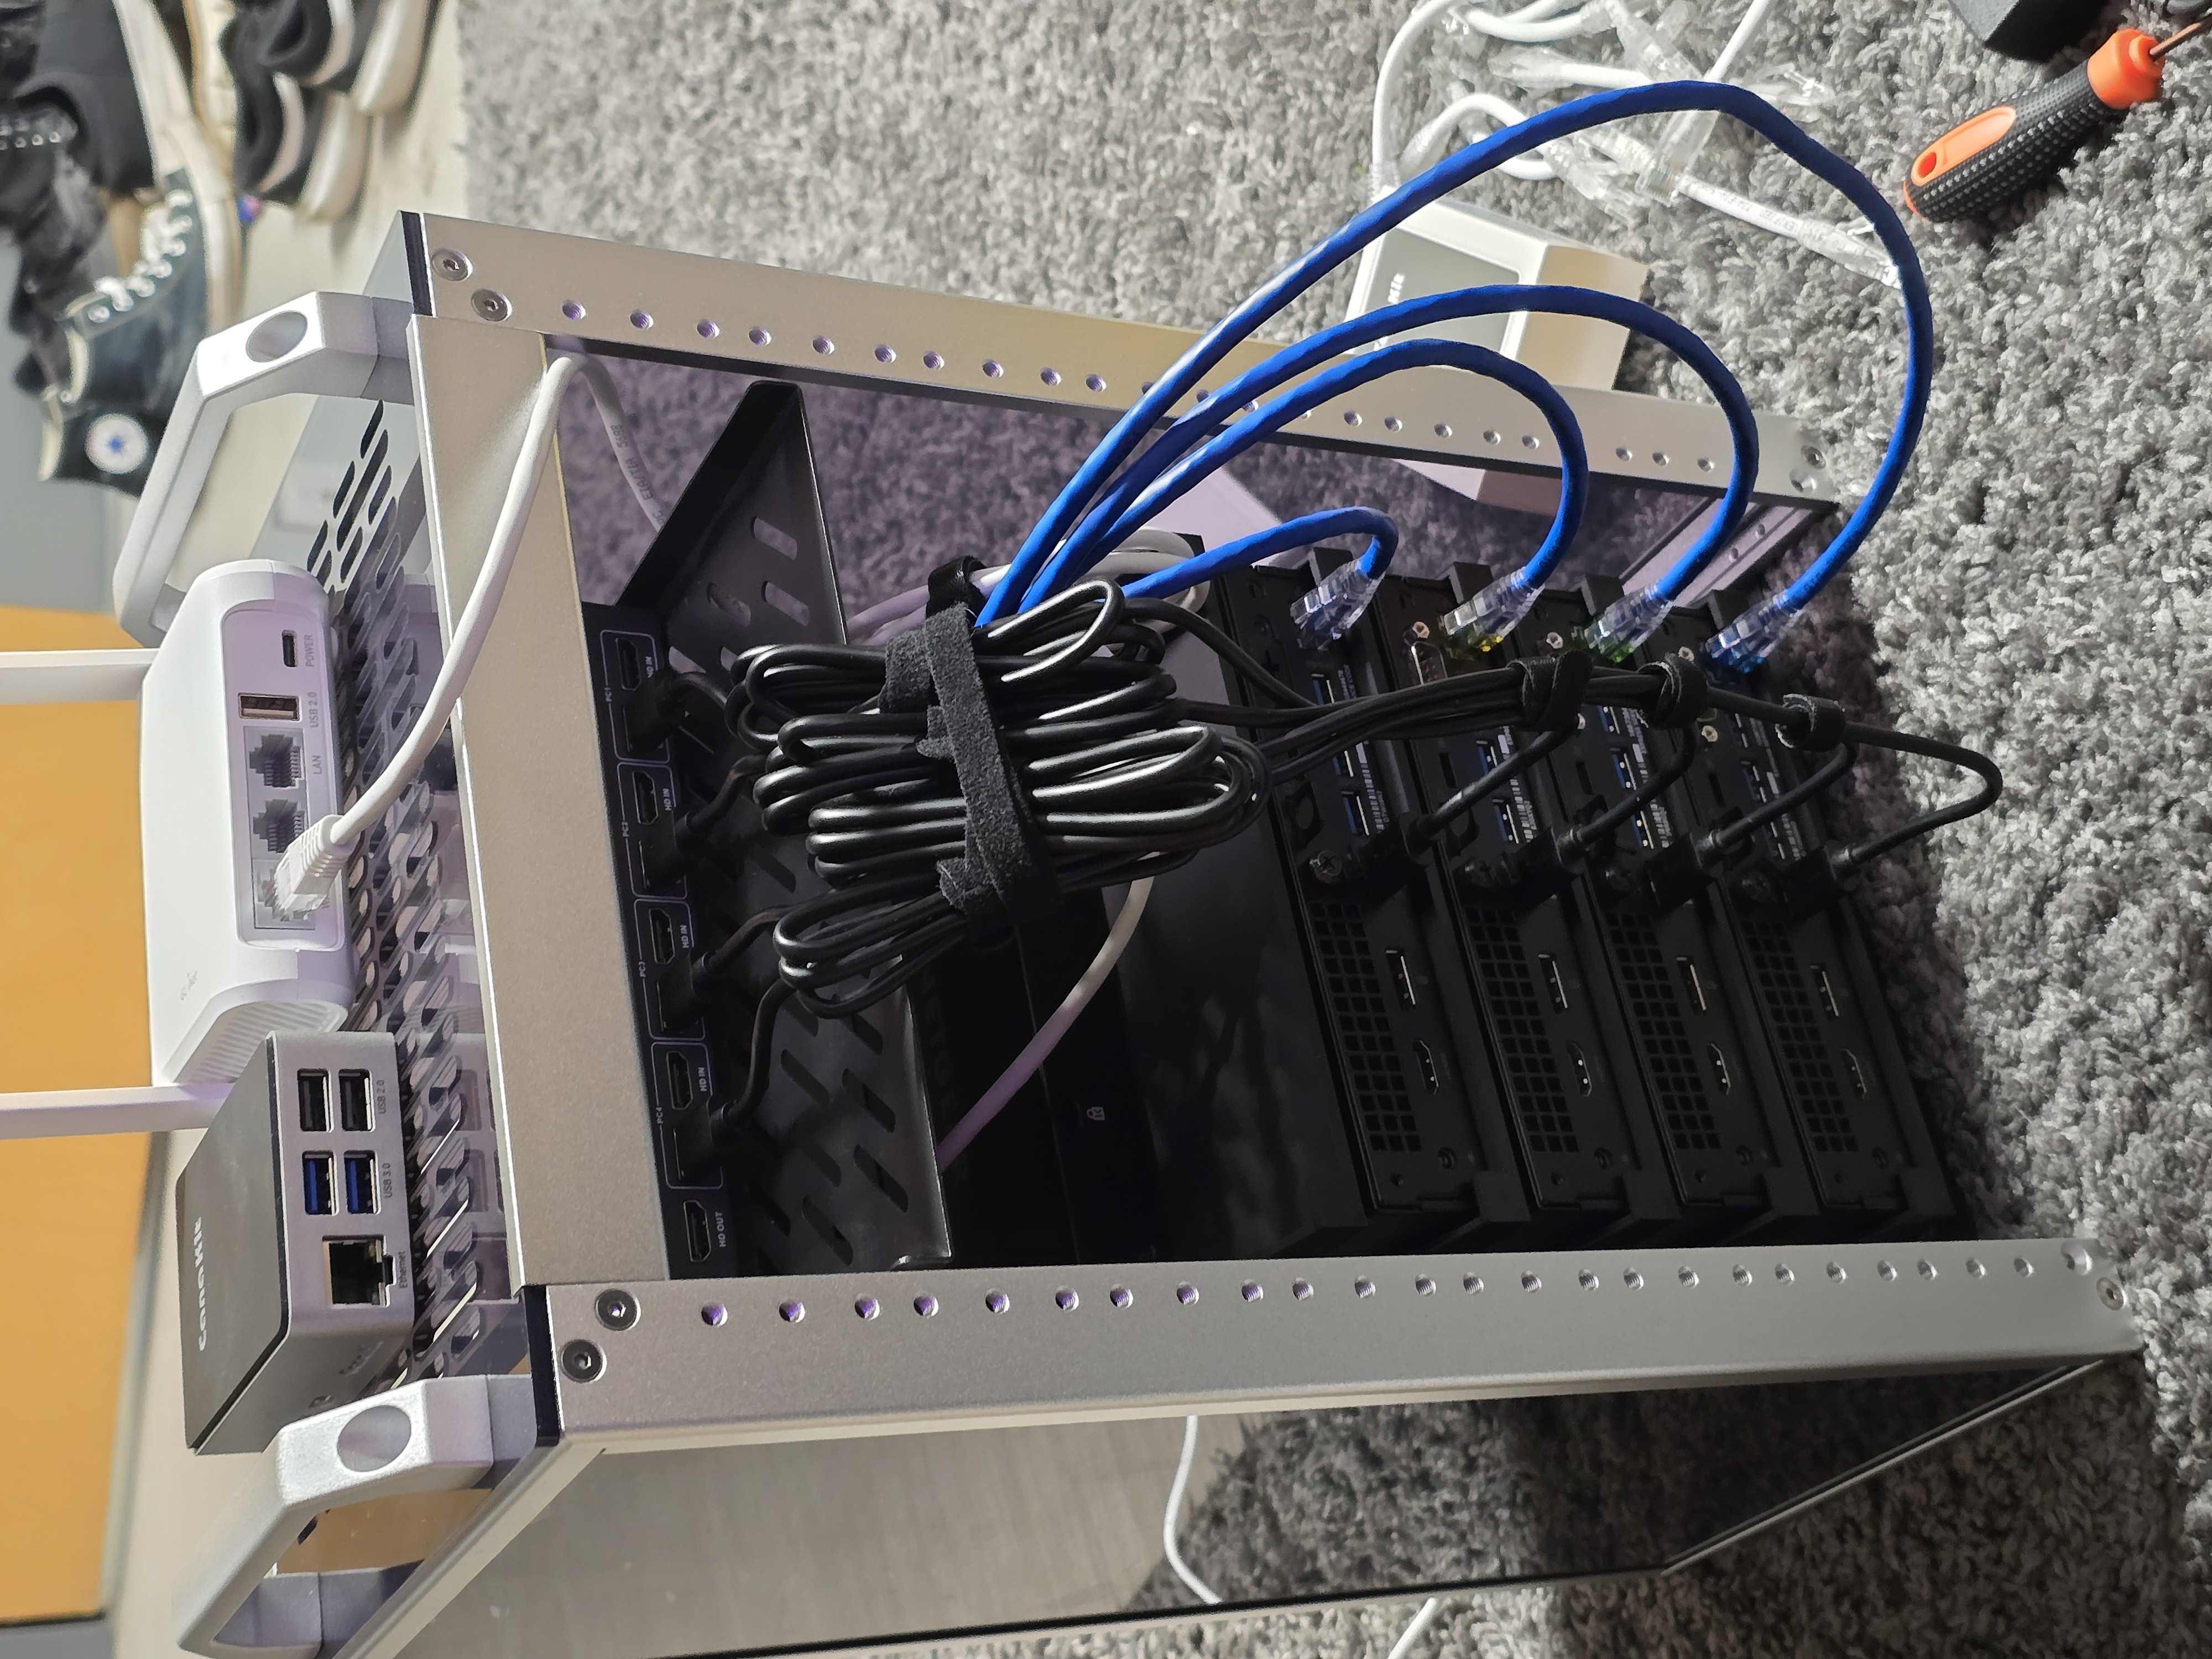
Next was Ethernet. I manually terminated these cables myself a few weeks ago, so that the sizing of the cables would produce a cleaner look.
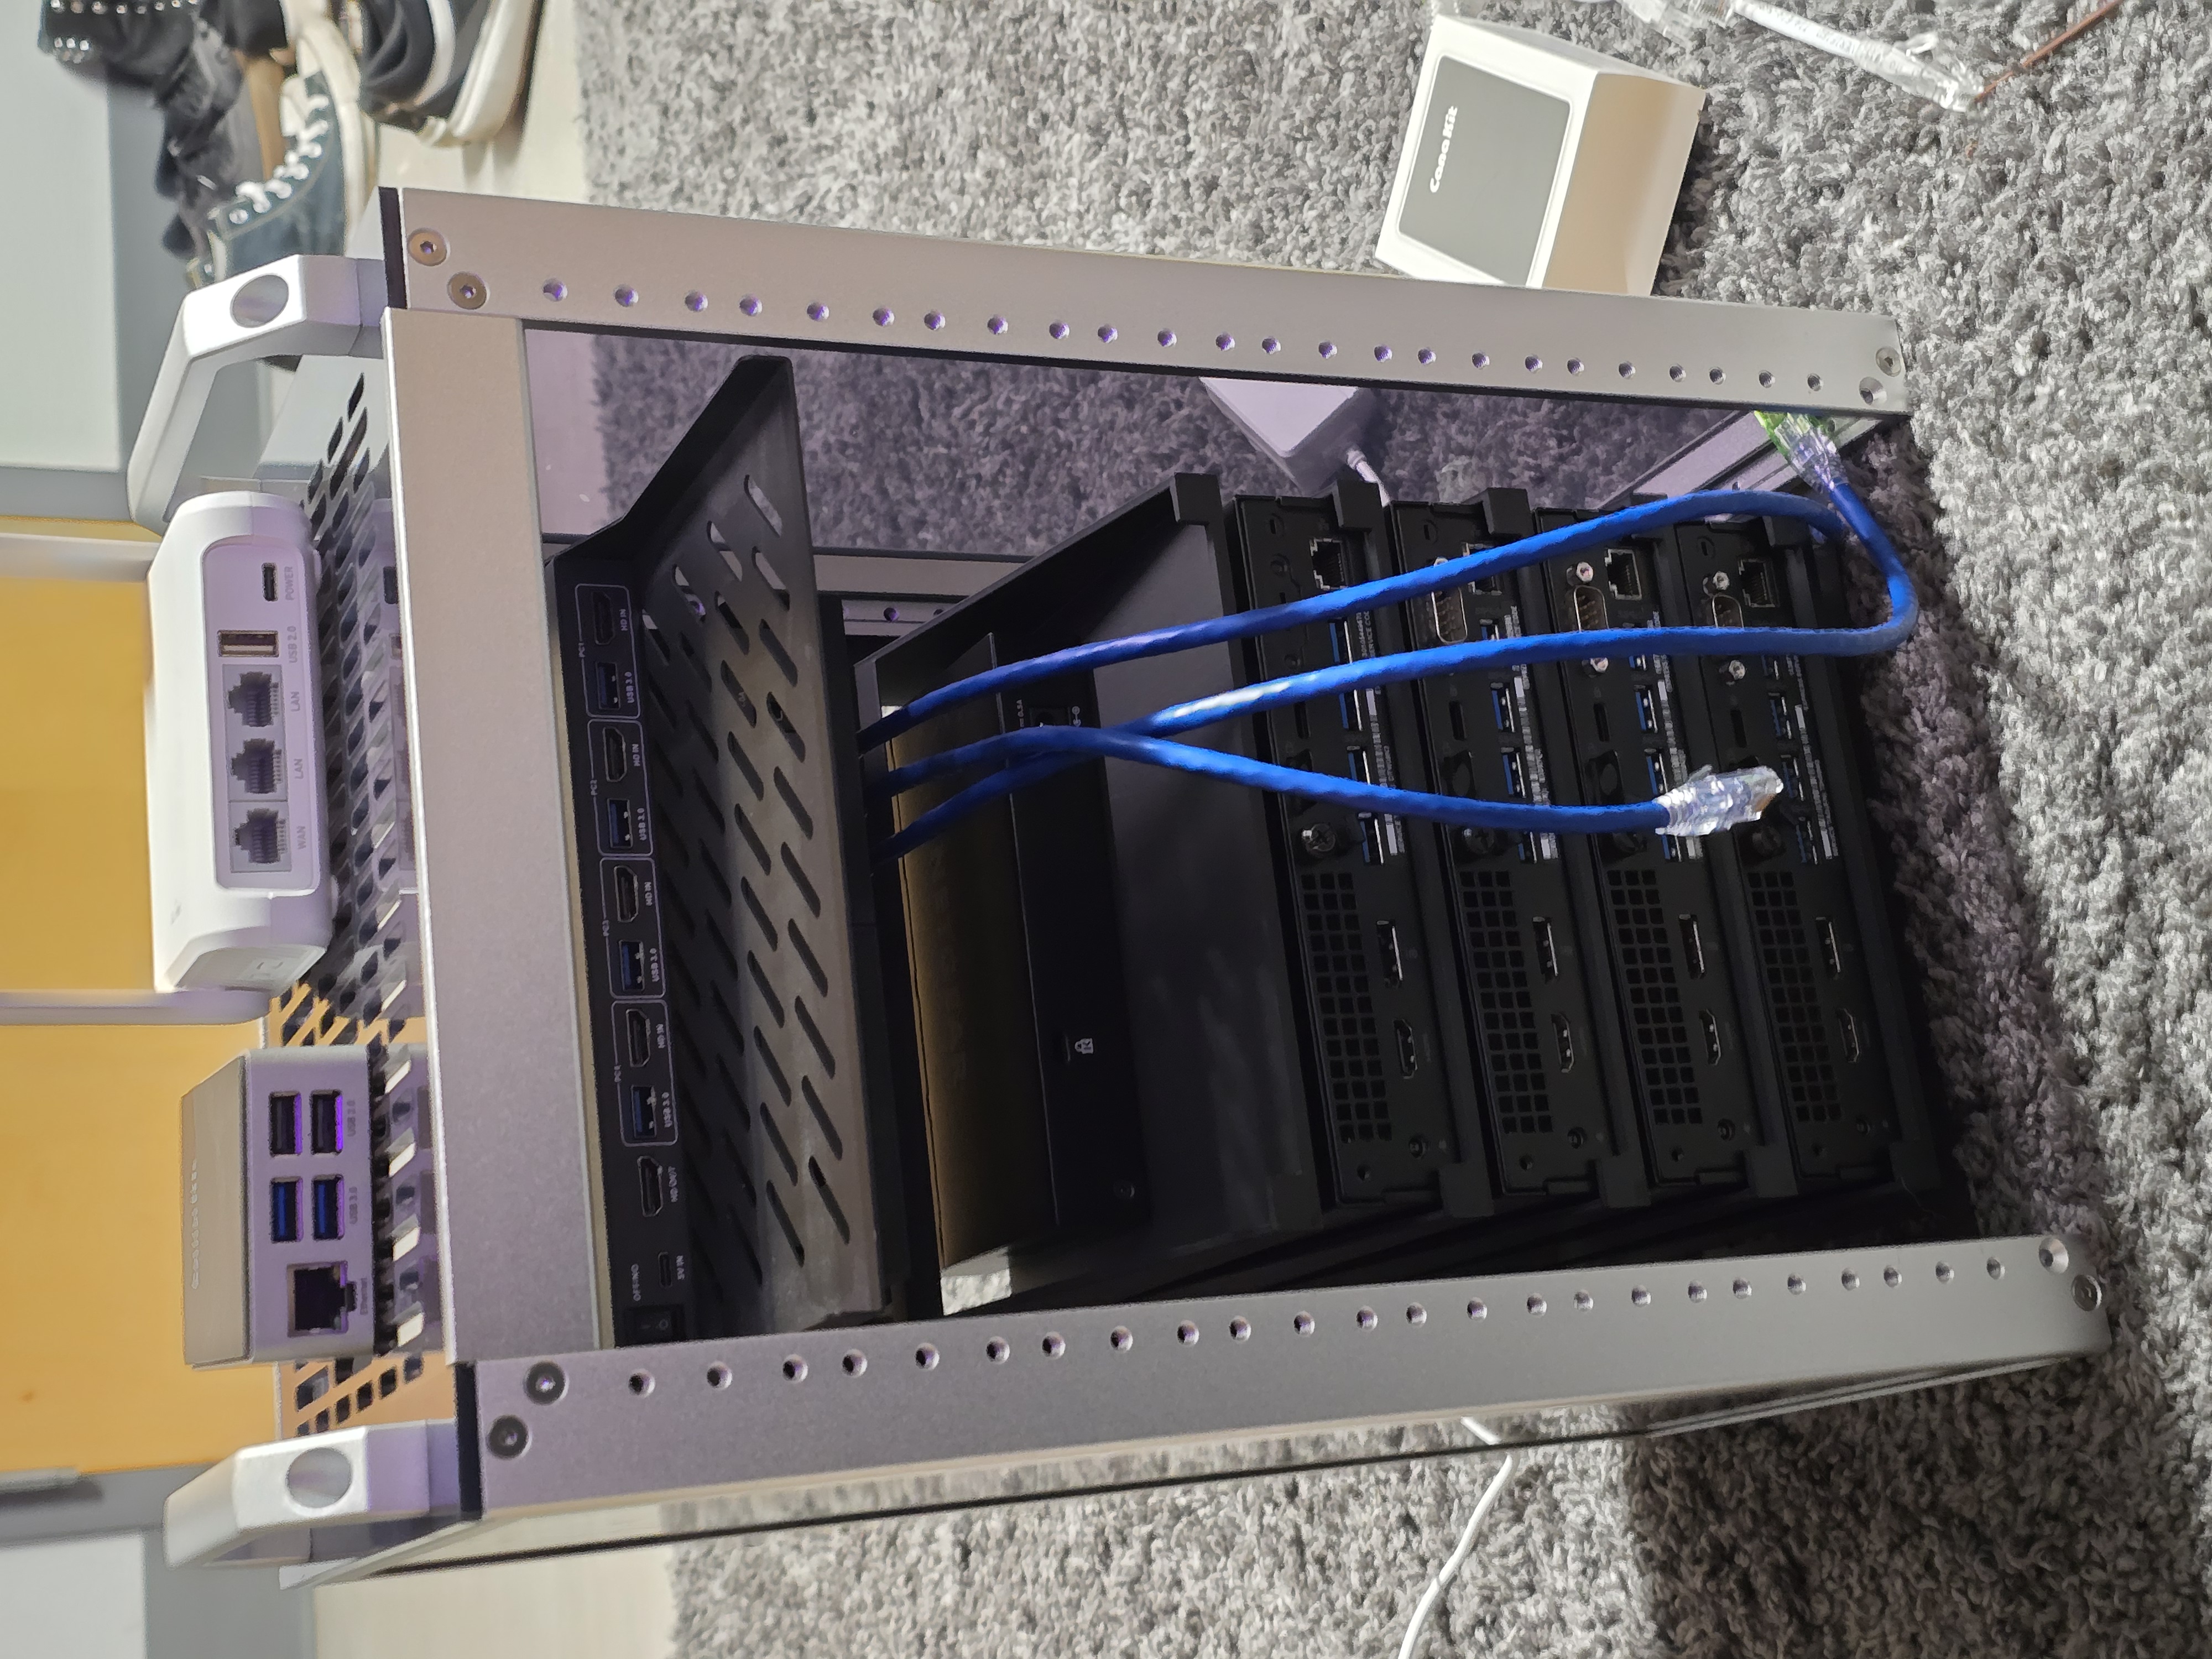

Once the Ethernet was done, I moved on to wiring the KVM. This was arguably the most annoying part.
** Rest of the article in progress, will be done when I have spare time outside of work and schoool, I apologize for the delay **